Home
Set Up Fennara for Godot
Use this guide to set up Fennara for Godot MCP workflows and the Fennara Godot AI plugin. Normal setup is: create an account, copy your API key, run the installer, choose your Godot project, configure supported MCP apps if you use one, then connect from Godot.
The installer handles the important local pieces: it creates a device identity, installs the Godot plugin, copies the Fennara MCP server, and can configure supported MCP clients such as Codex, Cursor, Claude Code, Claude Desktop, VS Code, Cline, and Antigravity.
Create your account
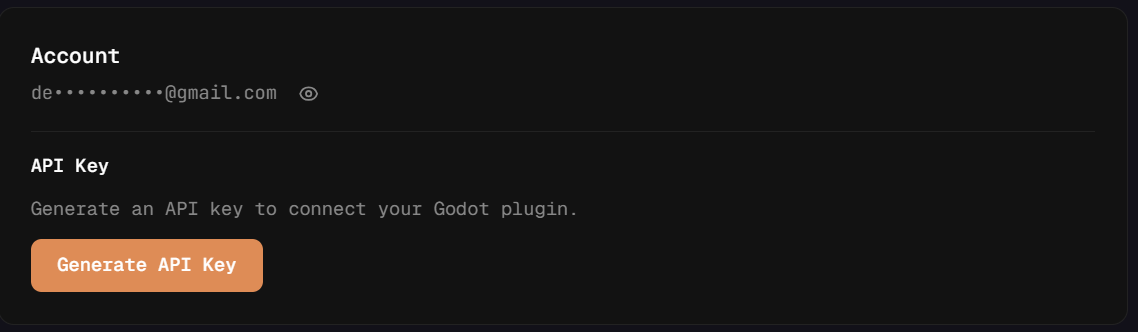
Create a Fennara account, open the dashboard, and generate an API key.
Copy your API key
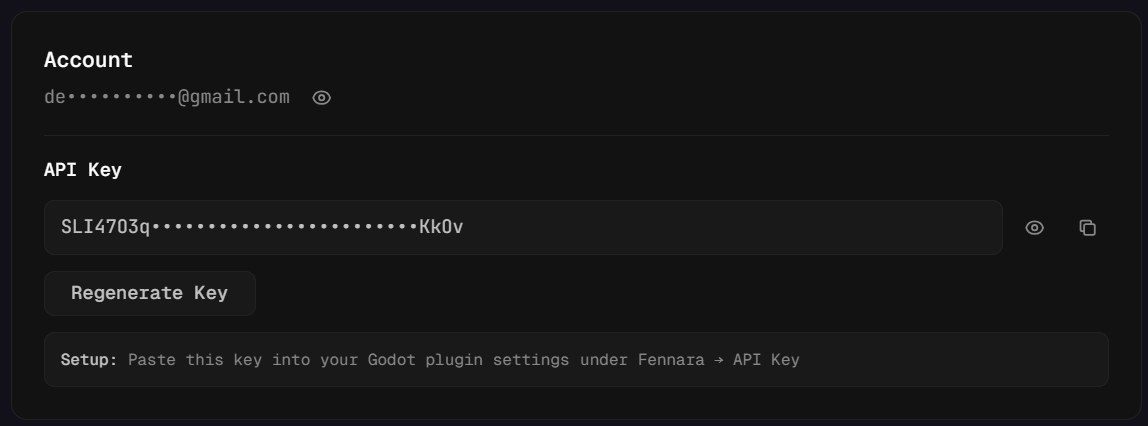
After the key is generated, copy it from the dashboard. This key lets the Godot plugin and local MCP tools talk to Fennara on your behalf.
Run the installer
Copy the command for your operating system and run it in your terminal.
Windows:
irm https://api.fennara.io/agent/install.ps1 | iex
macOS or Linux:
curl -fsSL https://api.fennara.io/agent/install.sh | bash
The installer opens, creates a local device identity, lets you choose a Godot project, installs the plugin and local tools, and can configure supported MCP apps for you.
Open Godot
Open the Godot project you selected in the installer. In the Fennara plugin settings, paste your API key and confirm the backend URL is set.
When the plugin connects, Fennara starts or checks your 14-day device trial. Up to two accounts can use a free trial on the same device. After that, the account needs Pro.
Send your first request
Use the Fennara dock or a configured MCP app and send a small first request. If Fennara replies or the MCP app can run fennara_status, the local tools are connected.
Try:
Read my player script and tell me why movement feels wrong.
Using an MCP app?
After the installer finishes, fully restart your MCP app so it reloads its server configuration. If the app does not list Fennara, or if you need to configure a client manually, see MCP setup.